Before I jump feet-first into hop growing I thought I'd get the ball rolling by dipping my toe a little by growing a small selection of my favourite varieties in my own back garden, and as a result, this post explores my experience in this little foray. I also hope that this post will help my Antipodean brethren; Mr Nick Simmons, with whom I studied/drank with at university, to grow hops down-under.
Back in late March, I placed an order with the good folks at Castle Farm Hop Shop; http://www.hopshop.co.uk/, for three hop rhizomes; one each of Fuggles, Wye Challenger and East Kent Goldings. Within a week they had been delivered and were subsequently stored in the fridge until the weather permitted planting. In the interim, I trawled the forums such as www.thehomebrewforum.co.uk and www.jimsbeerkit.co.uk to soak up as much knowledge as I could about the care and maintenance of these wonderful plants.
Whilst I didn't take any photographs of the hop rhizomes in their dormant state, they don't look too dissimilar to a strawberry plant by virtue of the fact that all of the energy required to kick-start the plant on it's journey to production is stored within a small mass of long hairy roots. The root system which develops from the rhizome does reach quite a depth, and will eventually spread laterally as well, hence why they prefer deep and well drained soils.
In order to provide my plants with the very best start, I excavated a hole around a spade's width and depth, and mulched in some freshly rotted manure into the base of the hole, before carefully placing each rhizome into their respective holes and back filling with soil. Within two weeks, my initial work had been rewarded with the sight of leaves! (Please excuse the poor state of the soil: its not the best available in South Derbyshire.)


As time passed, the hops began 'searching' for a substrate to climb. In normal circumstances, the hop shoots are trained vertically up lines of twine which are attached to frames constructed of chestnut. Unfortunately, my garden is compact and bijou, so I couldn't get away with a network of hop poles and twine, so I had to settle for the following configuration (shown in late June)

In order to achieve maximum growing space, I installed two lines of twine at approximately 45 degrees from each plant in both directions, halfway along which, I added a short line perpendicular to the main line to add more space. In hindsight, I could have added more lines between and the hops would have easily taken to them and possibly provided more cones.In some cases, the hops grew beyond the length of the twine, and had to be looped back upon themselves which created very bulky hop vines. In the case of the East Kent Goldings, they eventually grew so far that they made good use of the trellis atop the fence along one side of the garden.

At this point in time, the weeks seemed to flash past and the hops really started producing an abundance of cones on all plants, with Fuggles the clear heavy-cropper, followed by East Kent Goldings and Wye Challenger in a close third.


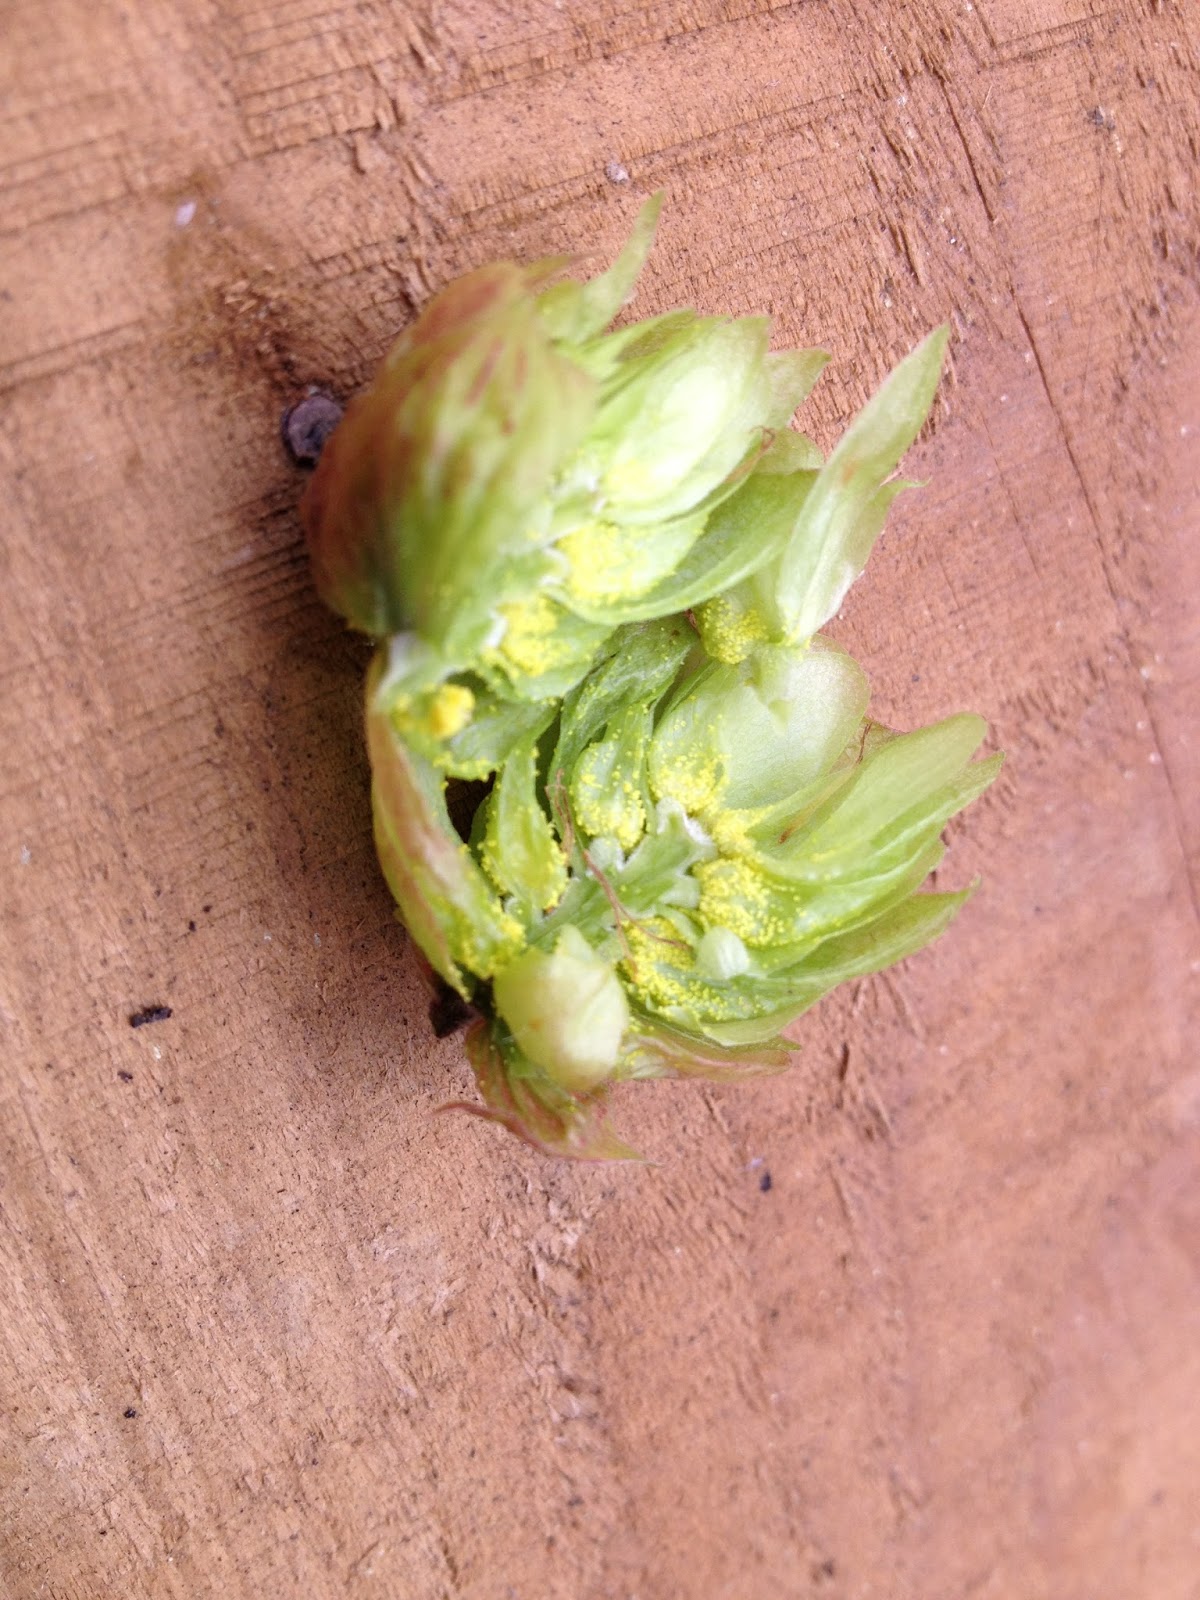
Once a reasonable period of dry weather has played out, and the hop cones start to feel light and papery as well as exhibiting a slight tinge of brown with bright yellow Lupin (a pollen-like powder) within, they are ready for picking.
I chose a warm afternoon at the outset, which quickly turned to a thunderous downpour by the time I was picking from the last plant, but it made little difference to my mood as I was grinning from ear to ear when the Fuggles plant produced two full-sized punnets like this.

My green/wet weights for this years harvest were:
Fuggles: 547 grams
East Kent Goldings: 447 grams
Wye Challenger: 345 grams
Based upon an 80% loss of mass upon drying, this should provide me with the following dry weights before storage;
Fuggles: 109 grams
East Kent Goldings: 89 grams
Wye Challenger: 69 grams
Once picked, I readied my drying rack ready for drying in the Oast House (read; loft).

I picked these trays up off eBay (again), for a couple of quid each if I remember rightly. They tend to be used for chitting seed potatoes, but they're ideal for drying onions and garlic once picked, so I see no reason why they won't work for drying hops.

Once picked, I spread the hop cones out evenly over the base of each tray, shortly before labelling them and stacking them ready for taking up to the loft.

With any luck, after a week of drying with a gentle shake to turn the cones over every day, I should have hops ready to brew with. I'll keep you posted with Part 2 in the next few weeks.....The brew day!
an interesting read, cant wait for part 2
ReplyDeleteCheers Stephen. Hopefully it should be as enjoyable to read as it will be to make!
ReplyDelete